The Bespoke Family Crest Commission Checklist: From Brief to Final Artwork
Commissioning a family crest is a small act of patronage. You are not choosing from a catalogue; you are asking a designer or painter to create an image that did not exist before, in a visual language with its own grammar and history. The commissions that go smoothly follow the same shape: a clear brief, a black-and-white sketch, a considered revision stage, and final artwork delivered in files you can actually use.
What follows is that sequence, stage by stage. It applies whether you want a gouache painting to hang above a fireplace or a clean vector file for a bookplate.
Stage One: Decide What You Are Commissioning
Before you email anyone, settle the scope. A heraldic commission can be as small as a shield or as large as a full achievement with helm, crest, mantling, motto and supporters. Supporters — the figures either side of the shield — are associated with particular grants rather than being decorative extras, so establish early whether they belong in your design at all.
Then choose the medium. A hand-painted original on paper, vellum or board has real physical presence but is sensitive to light. A digital illustration scales easily from a signet ring to a banner and is quicker to revise. Many people commission the digital artwork first and order a painting from the approved design later.
Decisions worth making now:
- Shield alone, shield with helm and crest, or the full achievement
- Painted, digital, or digital first and painted afterwards
- Where it will be used: framed, on letterhead, engraved, embroidered, printed on a bookplate
- How large and how small it needs to read clearly
- Whether there is a deadline — a birthday, a wedding, a reunion
Stage Two: Write the Brief
A good brief is short but specific. It gives the artist enough to work with and gives you something to hold them to. Send it in writing, even if you have already talked it through.
- Scope. State exactly what is included: shield, helm, crest, mantling, motto, supporters.
- Tinctures. Name the heraldic colours you want — or (gold), argent (silver), gules (red), azure (blue), sable (black), vert (green), purpure (purple), plus the furs. If you are unsure, say so and ask for suggestions.
- Charges. List the objects on the shield — a lion rampant, three bezants, an oak tree eradicated — and how they are arranged. Rough reference images help.
- Motto. Give the exact wording, spelling and language. Check it twice; a misplaced letter in Latin is a permanent embarrassment.
- Intended use. A design for a 15mm signet engraving needs bolder shapes than one destined for a framed print.
- Revisions, timeline and fee. Agree how many rounds of changes are included, when the work is due, and what the fee covers.
A note on terminology, since it trips up almost everyone: the crest is the device sitting on top of the helm. The shield is the arms. When people say “family crest”, they usually mean the whole design. Say which you mean and you will avoid a puzzling first sketch.
Stage Three: Heraldic Checks and Awkward Questions
A crest belongs to a line, not a surname
Arms descend within a family, usually from parent to children, and the crest goes with them. There is no crest that belongs to everyone called Morgan or Fraser. Artwork inspired by a design associated with a surname can still be a lovely and meaningful piece, but it should be presented honestly as decorative rather than as a personal grant. If that distinction matters to you — because the design will be used publicly, or you want something genuinely your own — raise it at the brief stage.
Grants and jurisdictions
If you intend to use arms in an official capacity, understand the position where you live. In England, Wales and Northern Ireland, grants of arms are made by the College of Arms; in Scotland, by the Court of the Lord Lyon. Those bodies can explain what may be assumed and what requires a grant. For anything with legal or commercial consequences, take proper professional advice rather than relying on a web page.
Stage Four: Concept Sketches
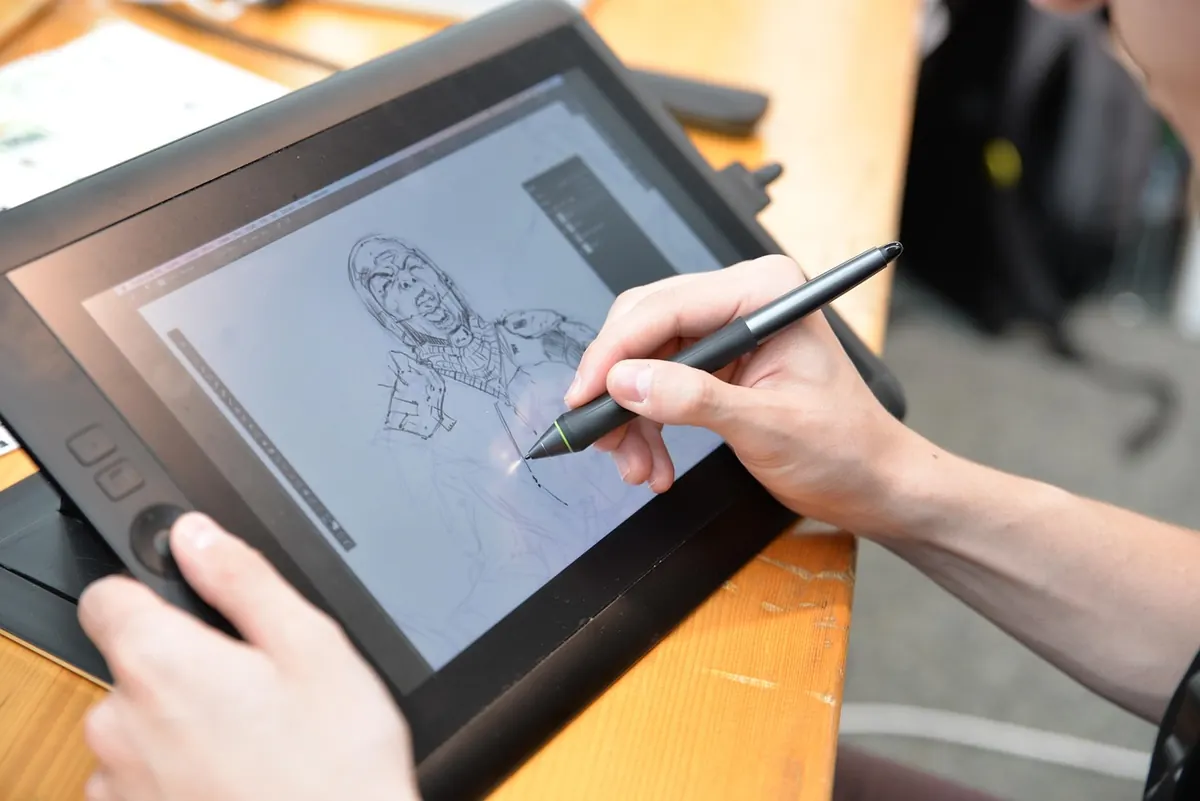
Ask for two or three black-and-white concepts before colour. Line work is where a design succeeds or fails: the balance of the shield, the weight of the charges, whether the mantling reads as foliage or as a tangle. Judge the sketches as shapes. Is the lion too small in the field? Does the helm sit heavily on the shield? Will the proportions survive at the size you need?
Give feedback in plain language and be direct. “The second one, but with the tree larger and the motto band thinner” is far more useful than “something’s off”.
Stage Five: Colour, Detail and the Small-Size Test
Colour comes next, and heraldry rewards restraint. The rule of tincture — metal on colour, colour on metal — exists so a design stays legible in poor light and at a distance. Two or three tinctures will nearly always read better than six. If the artist proposes a combination that breaks the rule, ask why; there may be a good reason, and there may not.
Before you approve, do the small-size test. Shrink the design on screen until the shield is about the size of a thumbnail. If you cannot tell what the charges are, it is too busy for a signet ring, a wax seal or a letterhead. Ask for a simplified version for small use.
Stage Six: Final Artwork and File Formats
Once the design is approved, confirm the deliverables in writing. A typical commission should include:
- Vector files (SVG, EPS or PDF) that scale without loss of quality
- A high-resolution PNG or TIFF with a transparent background for print
- A CMYK version for professional printing and an RGB version for screen
- A pure black-and-white line version for engravers and die-cutters
- A small web-ready file for email signatures and profiles
If you commissioned a painting, ask about high-resolution scanning or photography, and about how the colours were mixed so any future printed version sits close to the original. If you want the layered source file, negotiate it at the start rather than afterwards.
Stage Seven: Framing, Storage and Future Use
Handle the finished piece with care. Paintings on paper and vellum are sensitive to ultraviolet light, so hang them away from direct sun and use a conservation mount with UV-filtering glass rather than dry-mounting the artwork to a board. Keep digital files in at least two places — a cloud backup and a physical drive — and save the master alongside a print version and a small screen version, clearly labelled so a printer in five years’ time knows what they are looking at.
Settle use before you settle the invoice. Clarify whether you may use the crest commercially, on merchandise or on a website; whether the artist keeps the right to show it in a portfolio; and who owns the original. A short written agreement covering those points saves a great deal of awkwardness later.
Treat the commission as a collaboration rather than a transaction, keep your brief specific, and you will end up with something worth passing on.
Photo: Dmitry Romanoff / Pexels